skirting 50 mm

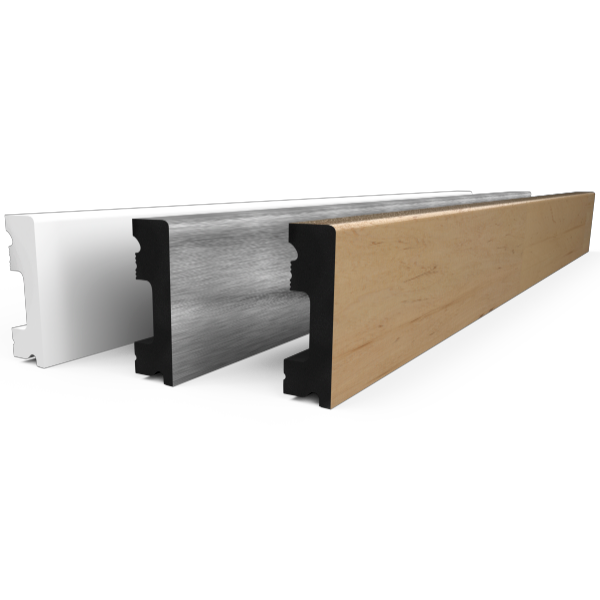
Waterproof skirting in a colour to match your floor
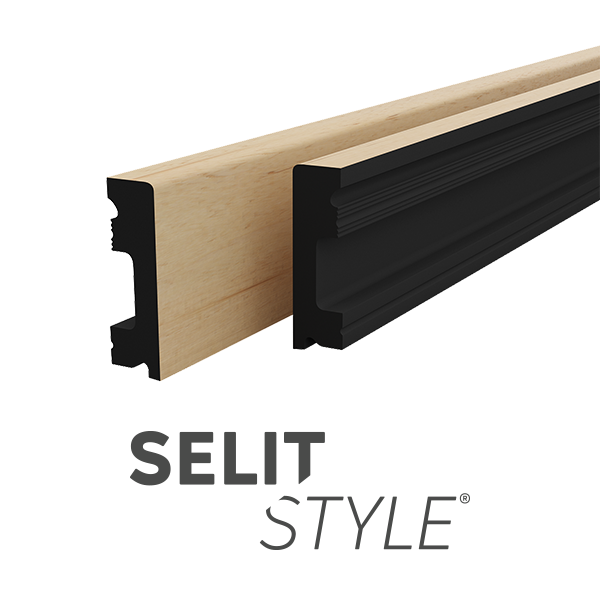
Small leaks in the bathroom or living room quickly affect conventional skirtings. Not the SELITSTYLE® skirting 50 mm. Made exclusively from paint and polystyrene granules, it is 100 % waterproof and therefore also suitable for moisture rooms.
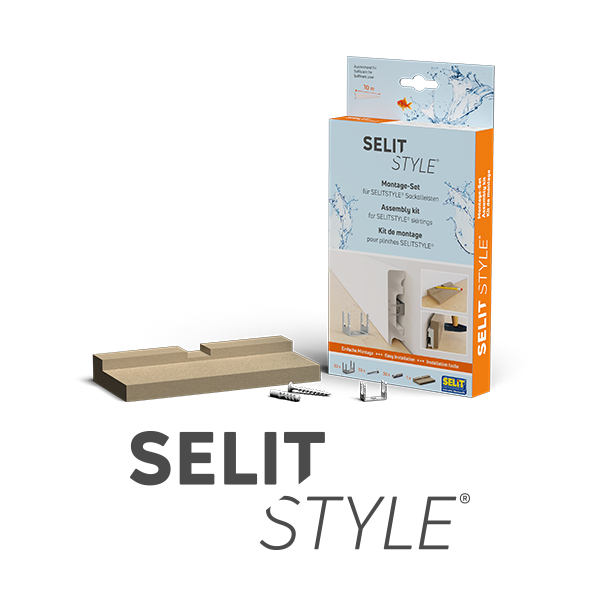
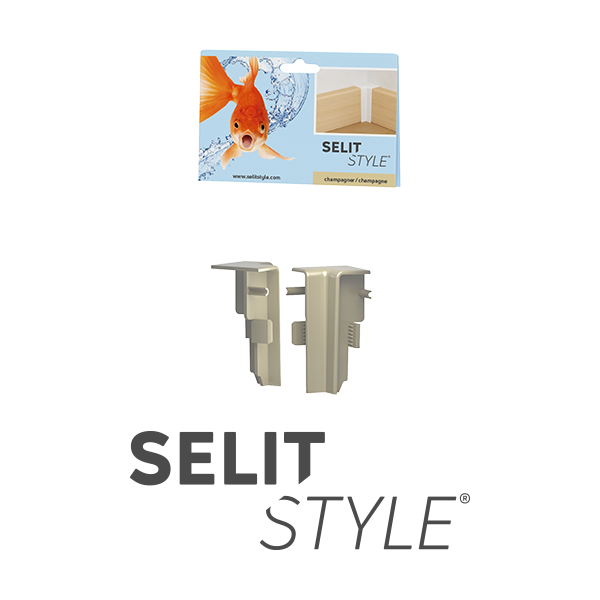
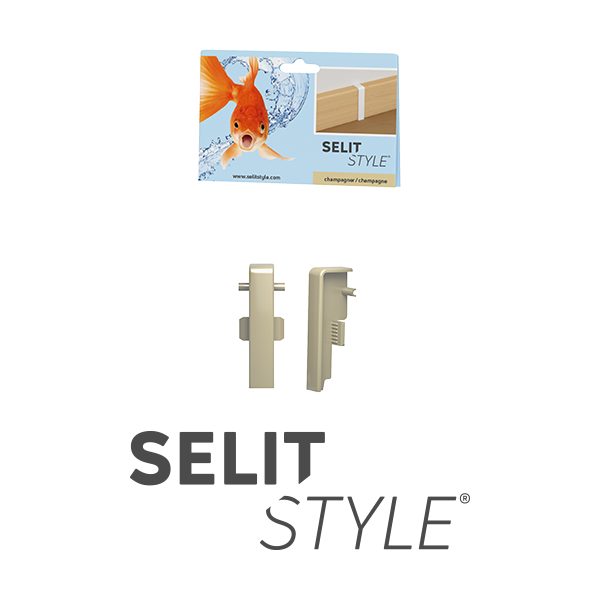
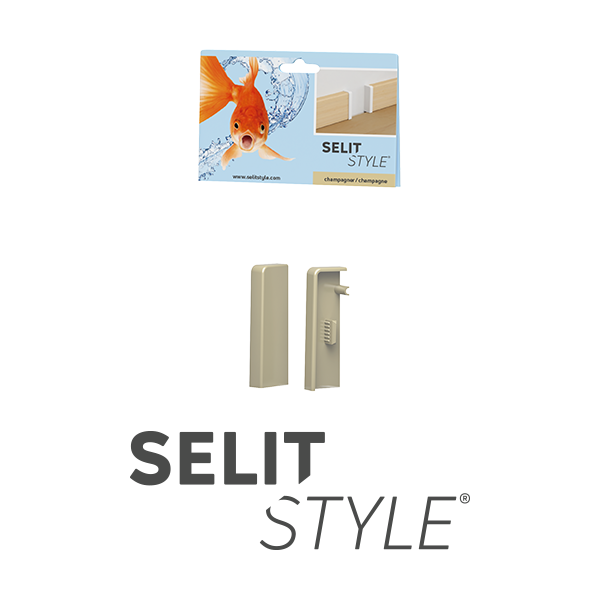
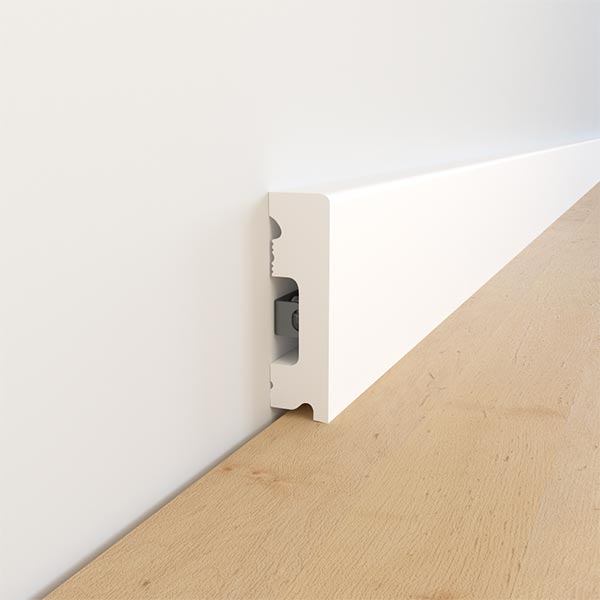
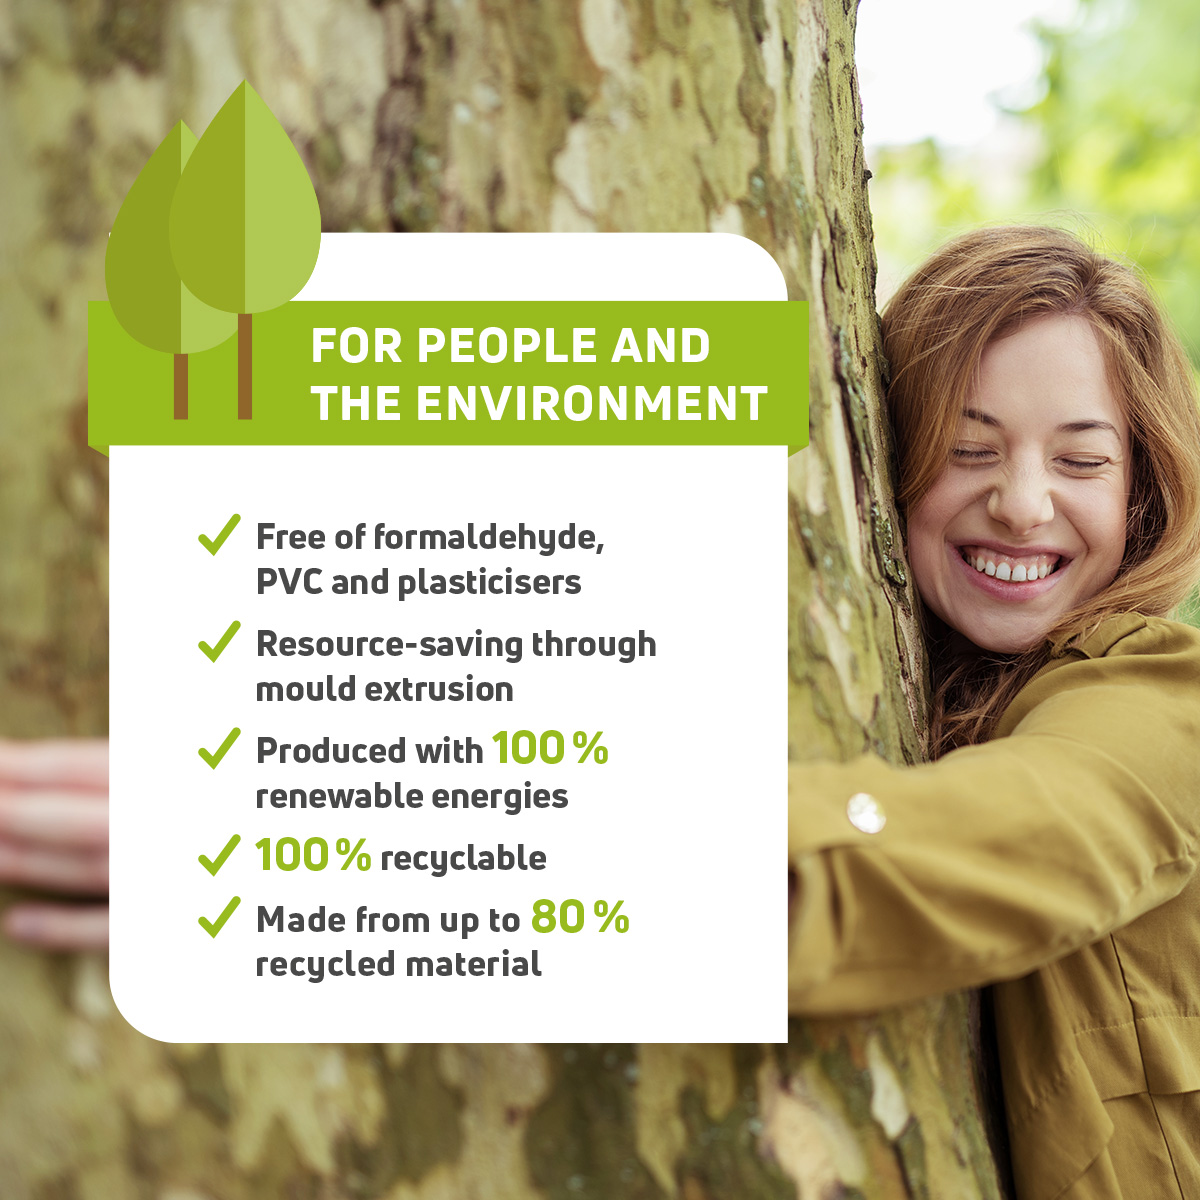
This is not the only way in which it differs from other skirtings. SELITSTYLE® skirtings also open up new visual possibilities. Thanks to the innovative use of digital direct printing, the colour of the decorative surface is perfectly matched to the floor. Assembly and disassembly of the skirting is very easy thanks to the specially developed “backnail”. The environment also benefits from SELITSTYLE® skirtings. This is because they are manufactured using 100 % renewable energy, are made from 80 % recycled material and are 100 % recyclable. The process is truly a cycle.

THE waterproof skirting – hygienic and easy to process

  • Waterproof and shock-resistant
  • Free from PVC, plasticisers and formaldehyde
  • Production saves resources and the product is 100 % recyclable
  • Easy to secure thanks to innovative backnail
Why skirting 50 mm

100% easy

Easy to
secure

Easy to
remove

Easy to
cut

Assembly set
sold seperatly

100% waterproof

100 % polystyrene –
naturally waterproof

Suitable for moisture rooms

Hygienic,
no risk of mould

100% innovative

Made entirely
from polystyrene granules
and paint

Installing skirting 50 mm –

a step-by-step guide

Cutting the skirting to size

Cutting the skirting to size

Step 1
All you need to assemble the SELITSTYLE® skirting board is a cordless screwdriver, cross-head screwdriver, hammer and the SELITSTYLE® assembly kit*. A conventional saw is sufficient for cutting to size.
*separately available

Marking the drilling height

Marking the drilling height

Step 2
Place the hammering block from the SELITSTYLE® assembly set on the floor and mark the drilling height along the upper edge.

Drilling the holes

Drilling the holes

Step 3
Drill holes along the marked line.

Insert the dowels

Insert the dowels

Step 4
Insert the dowels included in the assembly set.

Securing the backnail

Securing the backnail

Step 5
Insert the backnail into the groove of the hammer block and screw it tight.

Securing the skirting

Securing the skirting

Step 6
Fix the skirting to the wall using the hammer block and hammer with 1-2 strong blows. Alternatively, the skirting can be fixed to the wall with adhesive.

Downloads