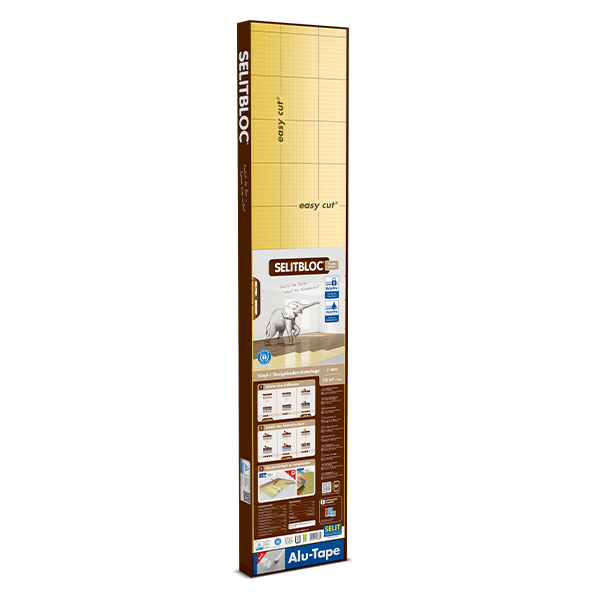
Vinyl underlay for small installation heights with GripTec SELITBLOC® 1 mm GripTec is perfect for use as an underlay for vinyl or design floors, especially when the installation height is low. With its pressure-stable foam core, it reliably protects the floor from loads. In addition, despite its low material thickness, it provides significant sound insulation properties. The innovative GripTec surface prevents the boards from slipping and the joints from opening.
Developed for vinyl and design floors – high level of pressure resistance and resilience
Before installation, please note: The base must be tested according to CEN/TS 14472 before the floor is installed. Its properties must allow proper processing. In general, the base should be clean, level, dry, resistant to tension and compression and should not contain any substances such as plasticisers, solvents or other diffusing substances. Textile floor coverings must be removed before installation in principle. Installation on ceramic tiles, linoleum or wooden floors is only possible with restrictions as this may mark the base. It must be ensured that the base is in a state of equilibrium humidity and that the CM value is below 2.0 % (for cement screed) or below 0.5 % (for anhydrite screed and anhydrite flowing screed). The processing instructions of the flooring manufacturer are to be observed as binding specifications.
Cleaning the surface
Cleaning the surface
Step 1 Clean the surface thoroughly with a brush or vacuum cleaner. Remove any adhesive and paint residues completely.
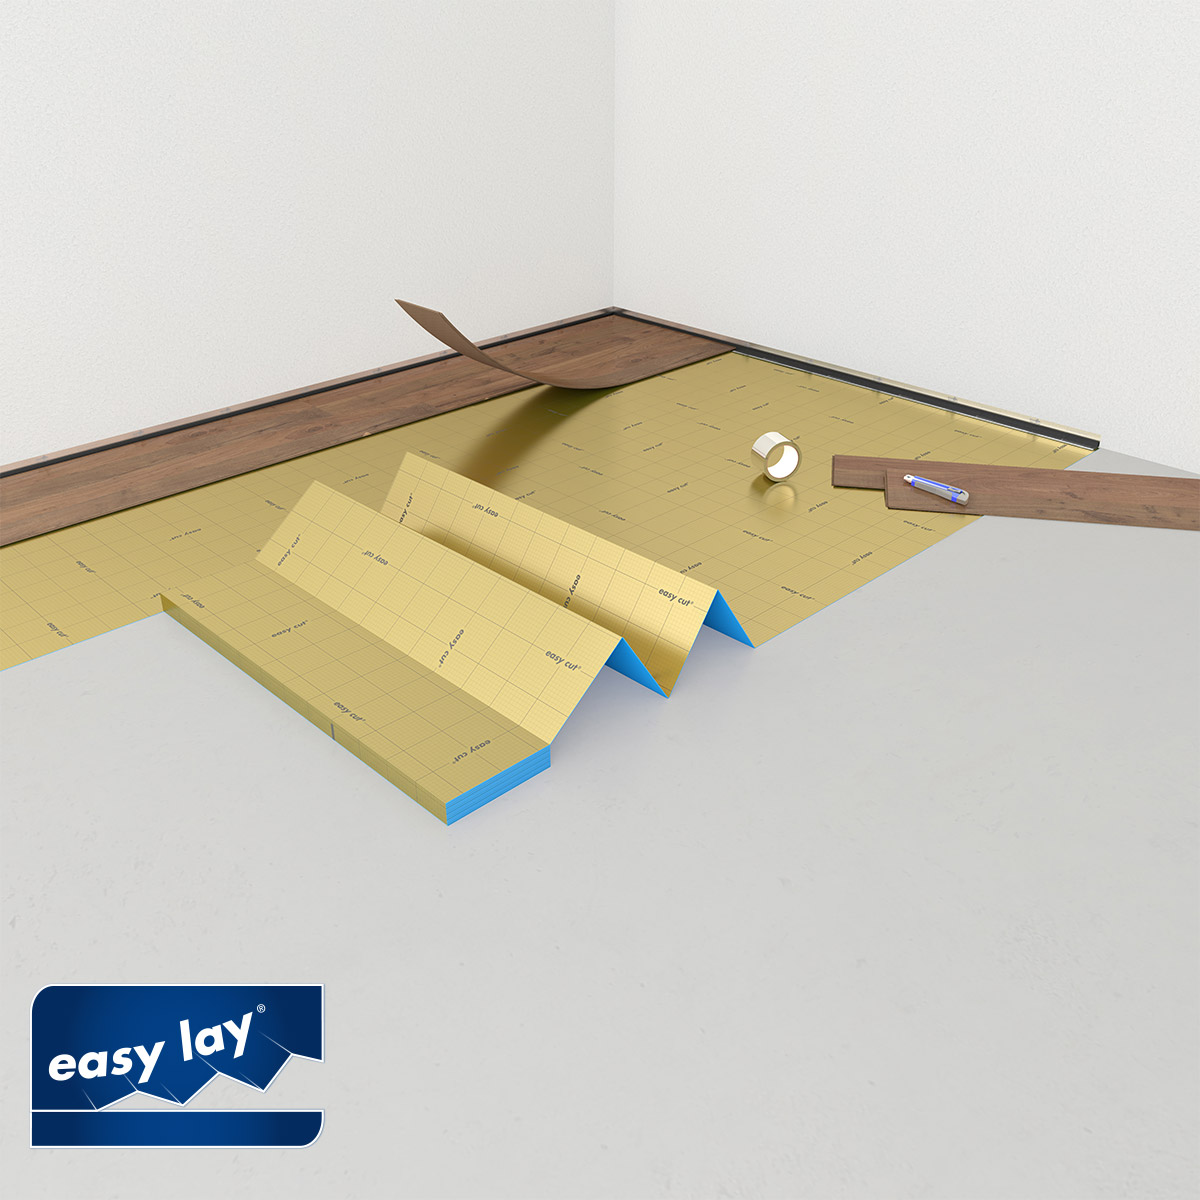
Laying out the first panel
Laying out the first panel
Step 2 Lay the first panel of the underlay flush with the wall over the entire width of the room. Make sure that the aluminium side is at the top.
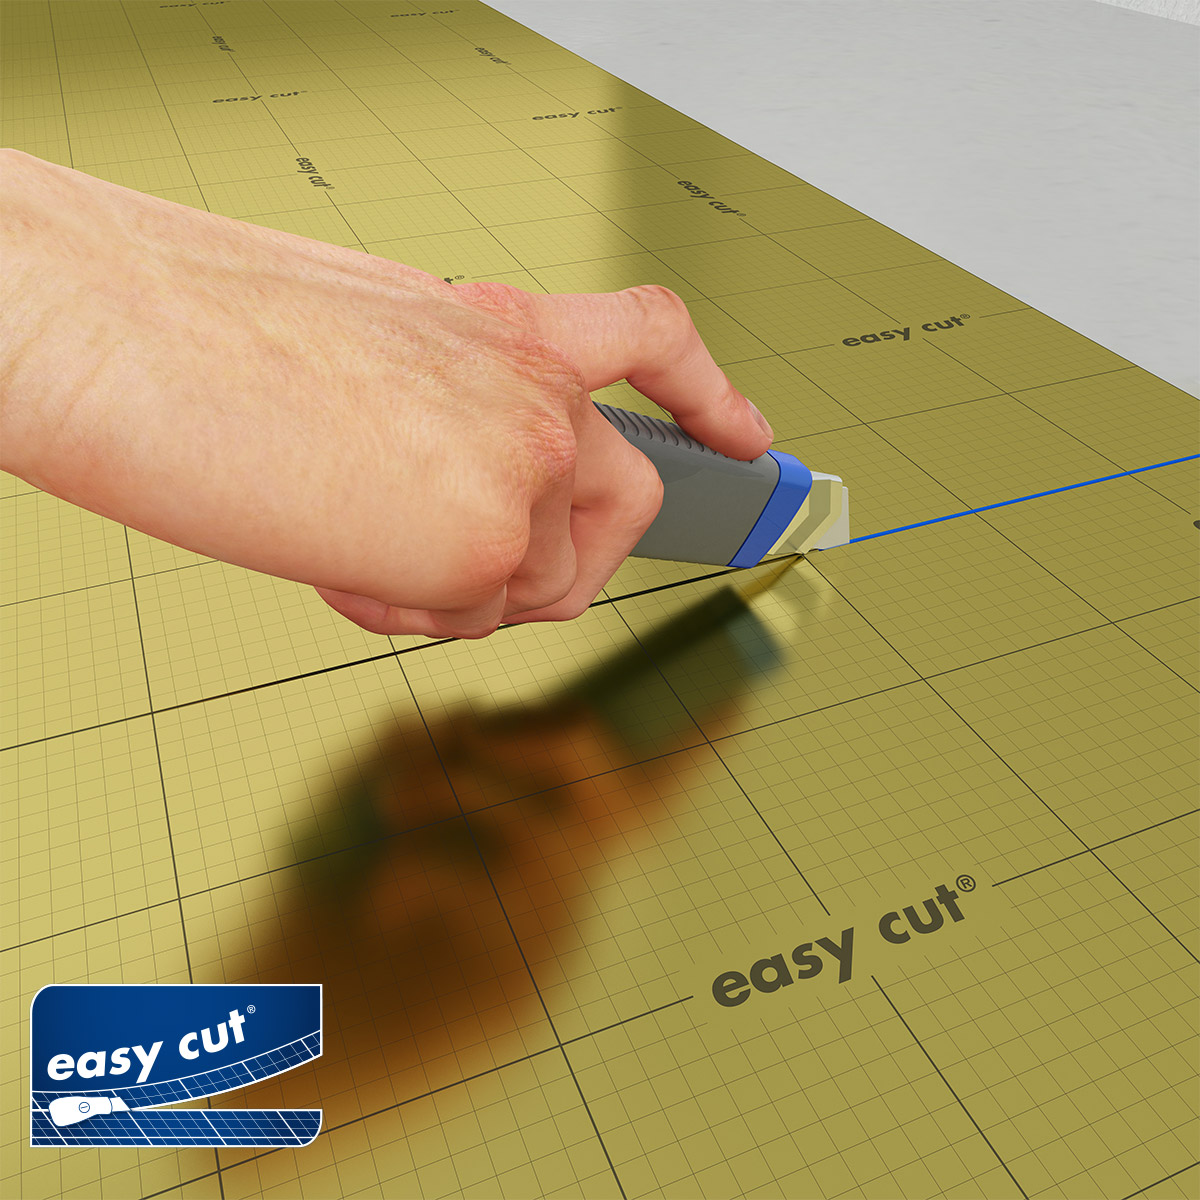
Masking joints
Masking joints
Step 3 To protect against moisture, seal possible joints with SELITstop® Aluminium-Foil Sealing Tape to make the joints vapour-tight.
Masking the wall connection area
Masking the wall connection area
Step 4 Mask the wall connection area with SELITstop® Moulding Protection Belt to protect against moisture.
Installing the flooring
Installing the flooring
Step 5 Lay the flooring in the same orientation as the underlay. Do not place any load on the underlay. If necessary, place the board under your knees/feet to distribute the load.
Finishing the installation
Finishing the installation
Step 6 Repeat steps 2 – 5 until the entire floor has been installed. Connect the individual panels of the underlay using the easy click® contour. Use the Aluminium-Foil Sealing Tape to seal the joints so that they are vapour-tight.
Technicaldata(according to EN 16354)
Punctual conformability (PC)
up to 0.5 mm
Compressive strength (CS)
≥ 500 kPa ≈ 50 t/m²
Compressive creep (CC)
≥ 35 kPa
Dynamic load (DL75)
≥ 250,000 cycles
Coefficient of friction μD (ISO 8295)
≥ 0.8
Impact sound reduction (IS)
up to 18 dB
Water vapour diffusion resistance (SD)
≥ 100 m
Water absorption (EN 12087)
≤ 1 %
Thermal resistance (R)
∼ 0.03 m²K/W
Reaction to fire (RTF)
Efl
*Suitability for underfloor heating
Yes, if flooring R ≤ 0.12 m²K/W
Meets the minimum requirements of the EPLF and MMFA (Group 1+2)